A Manual Guide To Use Soldering Iron
Soldering irons are very commonly used for manufacturing electronics, plumbing, and a variety of metal works, like roof flashing, creating jewellery, etc. Moreover, it is also an excellent hand tool to have at home. But when it comes to using a soldering iron, not many of us know the proper technique. If you are planning to buy soldering iron online in India, it is better first to know the soldering process in detail.
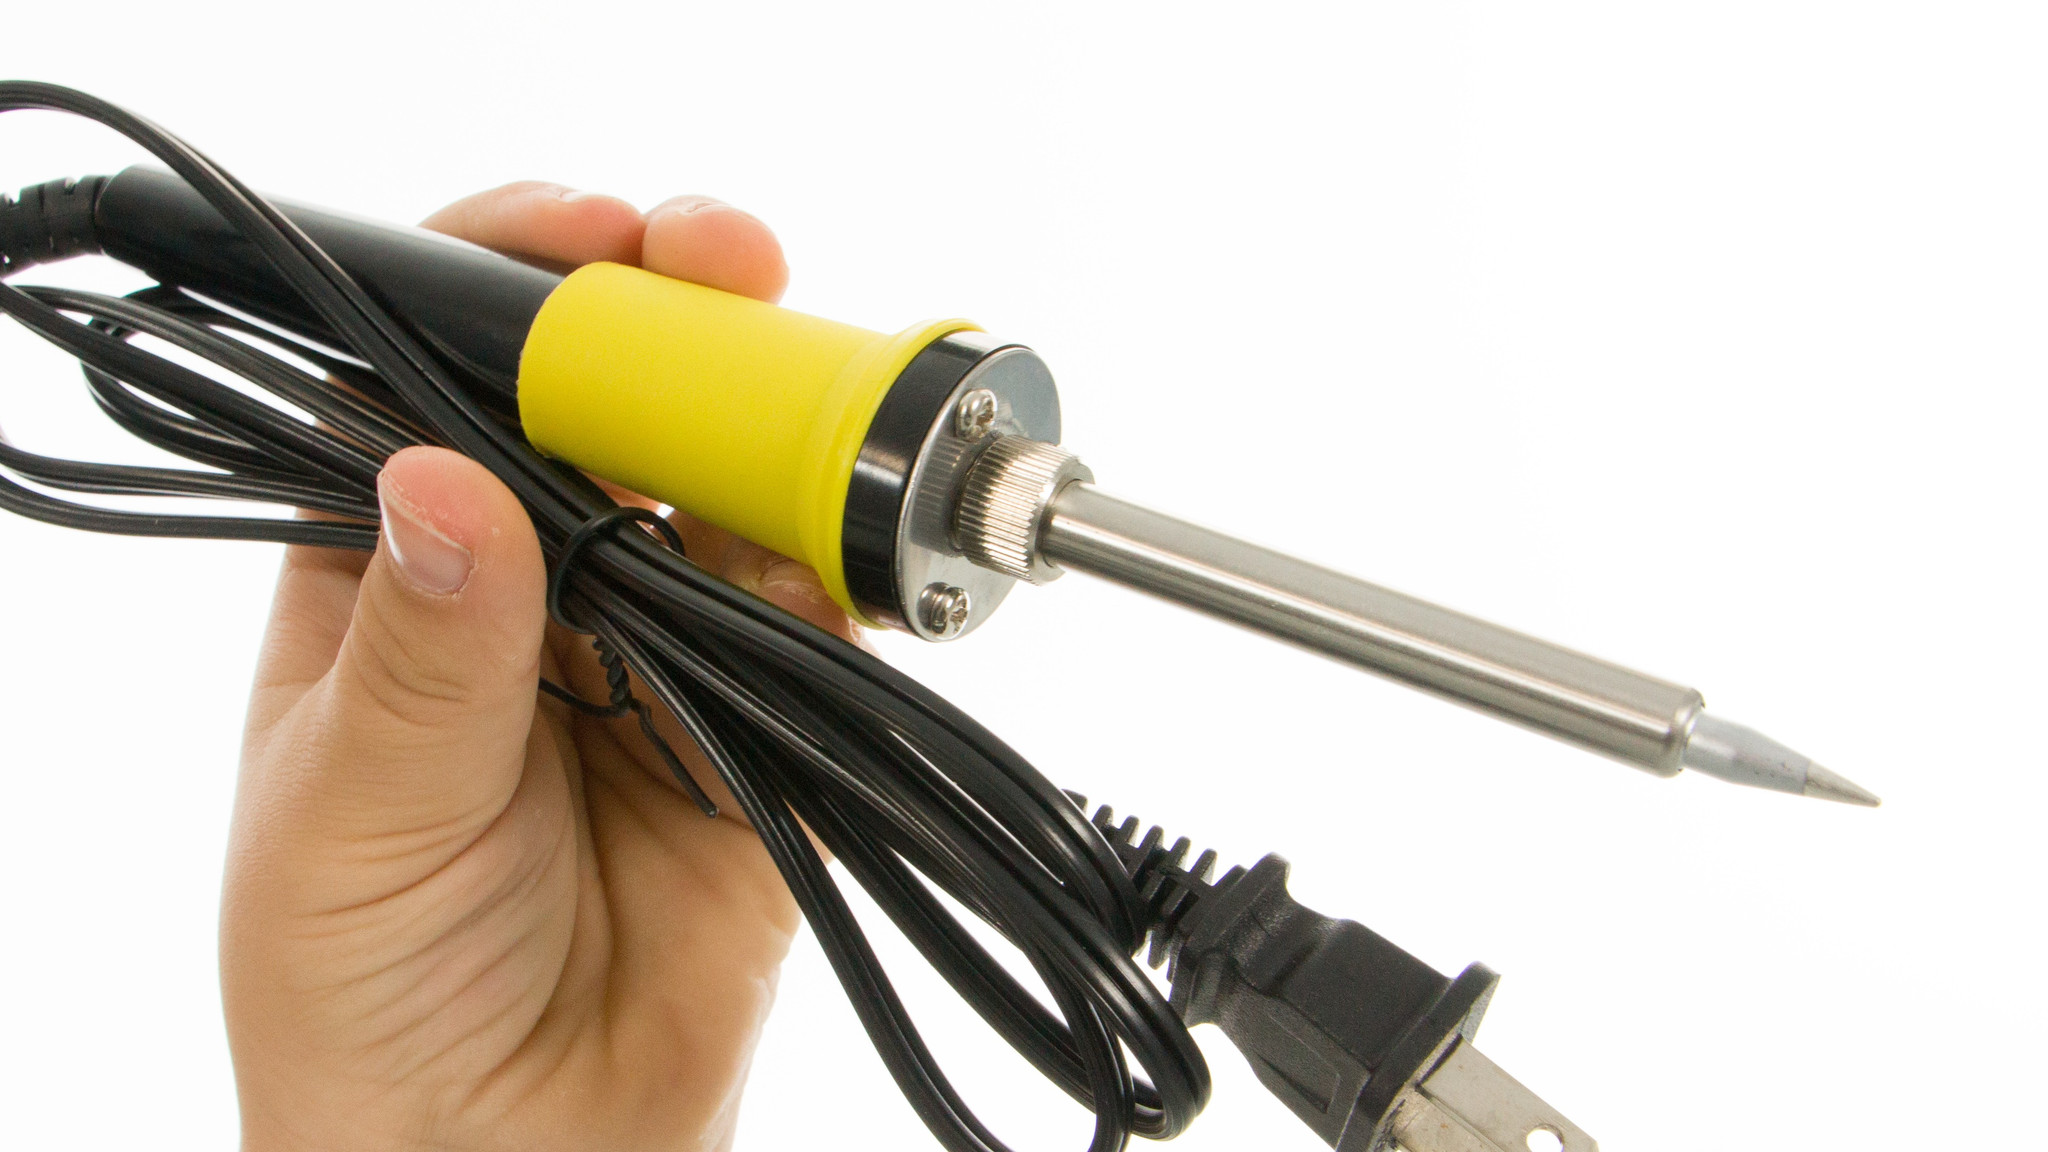
A soldering iron is a hand tool which is used for the purpose of soldering. Its main job is to melt the solder to allow it to flow into the joint of the work pieces. It has an insulated handle and a metal tip, and the high temperatures are achieved with the help of electricity. There are also cordless soldering irons which make use of gas for heating.


Soldering irons are used for manufacturing electrical components, in plumbing and a wide-range of metal work and to create jewellery. Moreover, it is also very commonly found in many households. With the falling Soldering iron price in India, it is the right time to invest in a good quality soldering iron. But before buying one, it is very important to know the proper soldering technique. Go through the guide mentioned below to understanding the soldering process in detail.
What You Will Need?
-
Soldering iron
-
Frame or vise
-
Solder
-
Flux for removing the oxides
-
Damp sponge
Getting Started
-
Preparing the Word Space- Take a cardboard piece or mat and lay it on the work space to catch the solder that falls.
-
Preparing the Soldering Iron- If you buy soldering iron online in India of Electric-type, you will be required to warm the unit to reach the desired temperatures. And if you have a gas-based soldering iron, fill the tank with gas while holding it firmly and making sure that the refill nozzle is pointing upwards.
-
Securing the W ork Piece- While a frame or vise is not compulsory, it helps in properly securing the work piece. Set the work piece on the frame or vice.
-
Cleaning the Tip- As the iron achieves very high temperatures, they quickly get dirty due to oxidation. So, make sure that the tipoff the iron is clean. You can do this by passing it on the wet sponge until the tip shines.
-
Using Flux- Fluxes are very commonly used during soldering. The flux needs to be melted at a temperature that is lower than that of the soldering unit to ensure that it does its job properly. While there are many different methods that can be used for applying flux, your work piece will help in determining the method you should choose.
-
Holding the Soldering Iron and Solder- Now, once the soldering iron is warm enough, hold it in your writing hand just like you hold a pen and solder in another hand.
-
Start Soldering- It is important to make sure that the tip of the unit is in contact with the work piece as well as the wire lead so that they can get to identical temperatures.
-
Feeding Solder- Feed the solder on the joint once the area is heated for about 2-3 seconds. Make sure that the solder only flows until it covers the connection.
-
Almost Done- Now, first remove the solder and then the iron. The joint should remain stationary while cooling.
-
Evaluate– The soldering should be shiny and should have the shape of that of a volcano. If the outcome is not shiny or the shape is not proper, you will be required to feed more solder.
-
Removing Flux- Use a flux cleaner to remove all the leftover flux.
While you might not get the exact results the first time, the soldering process is not very difficult, and you will be able to get professional-level results in no time.